Page 17 of 19
Re: CH Disassembly/Assembly Line - en Masse

Posted:
Sat Oct 05, 2013 9:10 amby Troy
Looks good .

Is that going to be on Craigslist?

Re: CH Disassembly/Assembly Line - en Masse
Posted:
Sat Oct 05, 2013 5:25 pmby khardy
Troy wrote:Is that going to be on Craigslist?
HI Troy,
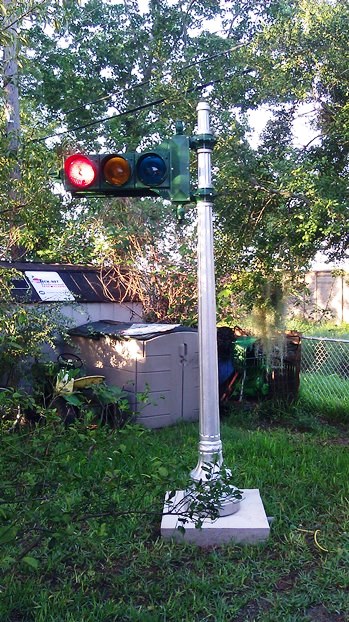
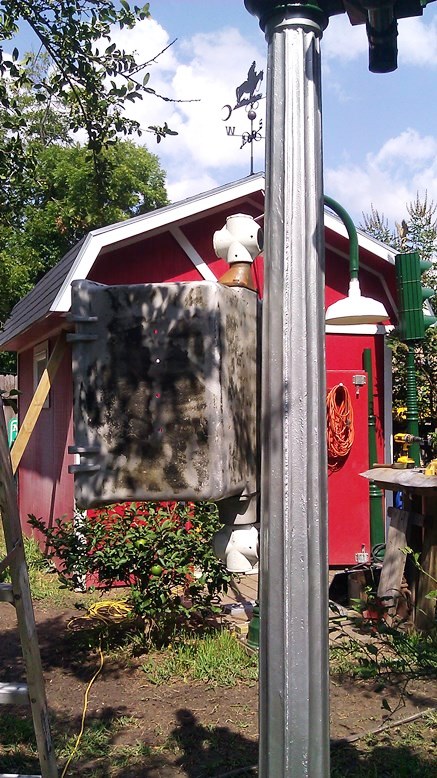
Sondra likes the light and we are still a way from finishing it. As to what happens then, don't know..... Will probably stand in the back yard for a long while acting as a lighted signal and pee post for the dogs.
Cheers!
Re: CH Disassembly/Assembly Line - en Masse
Posted:
Sat Oct 05, 2013 7:00 pmby mcha9797
Looks nice Keith, does Joe have street sign's at the junk lot?? Maybe you could at least get some sign's from the general area that the signal saw service.
Re: CH Disassembly/Assembly Line - en Masse
Posted:
Sat Oct 05, 2013 7:19 pmby khardy
Hi Mark,
Asked Joe and looked around the junk lot today. No old street signs from either end of the block. 
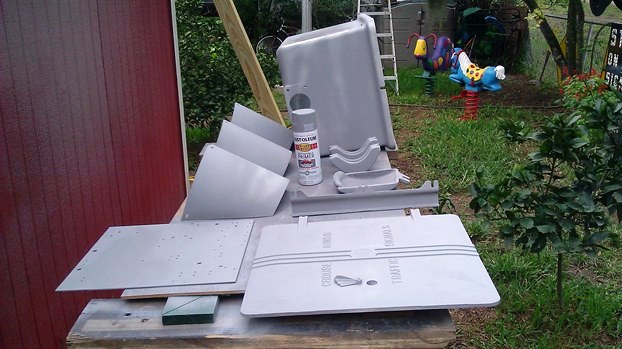
We do have a pair of Main Street and First Street steel embossed signs with the bracket and the plan is to repaint white with black lettering for the top of the post. 
Cheers!
Re: CH Disassembly/Assembly Line - en Masse
Posted:
Wed Oct 16, 2013 11:20 amby vaughnsimon
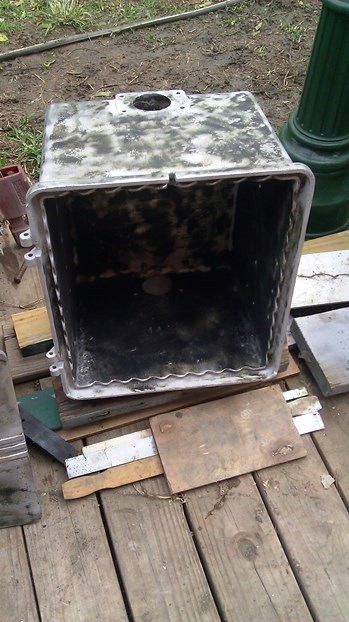
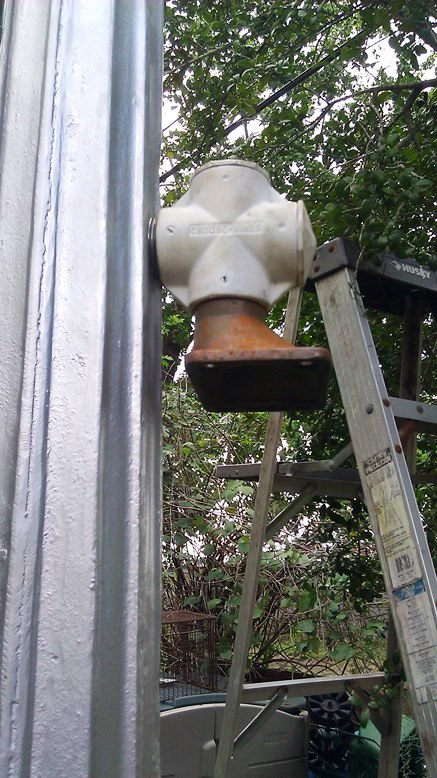
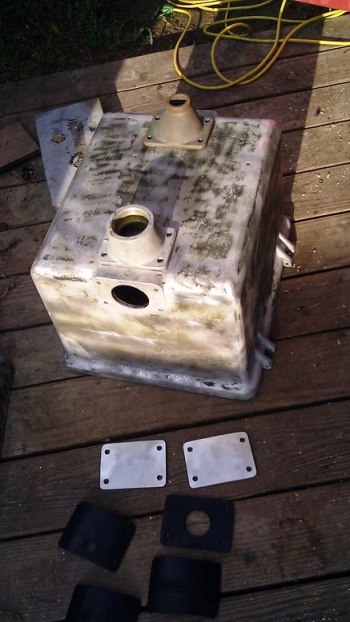
Crouse Hinds made some "L" brackets that fit between the box and those hubs using the same bolt holes. If I were mounting that box in a public place, I would use likely use those brackets along with Band-It to secure the controller box to the pole well enough to make it people-proof. Your way is a lot prettier though! There were also cork hub gaskets to keep out the rain.
I guess I need to get my butt over to the new forum. Not much happening here these days.
Re: CH Disassembly/Assembly Line - en Masse
Posted:
Wed Oct 16, 2013 11:35 amby khardy
Hi Vaughn,
Jay sent the brackets with the box. I am not using the brackets with band-it material. Don't think it would look very good on this decorative post. Besides, this light setup is a yard ornament.
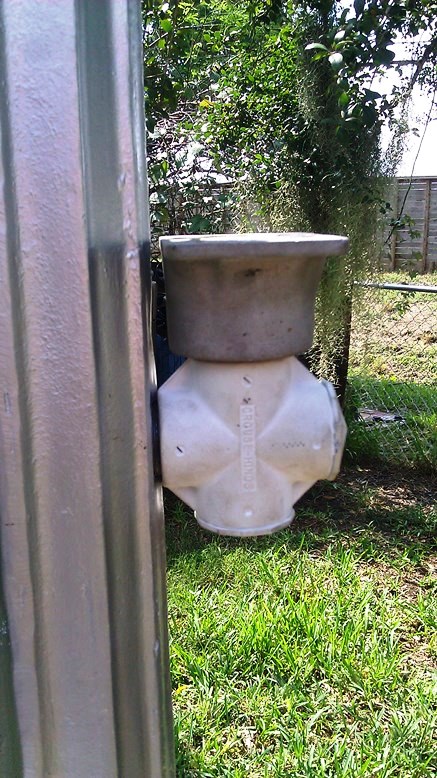
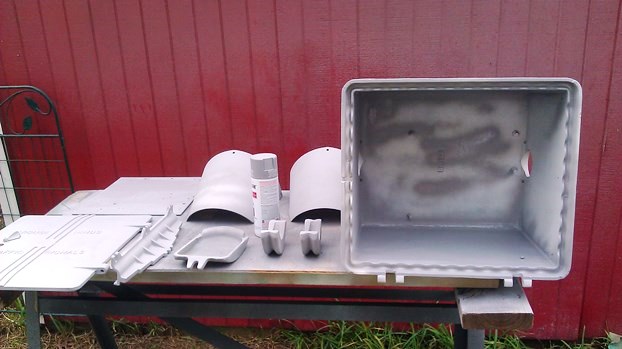
Did cut some rubber gaskets for the hubs from material we had around here.
Cheers!
Re: CH Disassembly/Assembly Line - en Masse
Posted:
Wed Oct 16, 2013 1:20 pmby Crunge98
Looking good

Re: CH Disassembly/Assembly Line - en Masse
Posted:
Wed Oct 16, 2013 1:30 pmby khardy
Hi Jay,
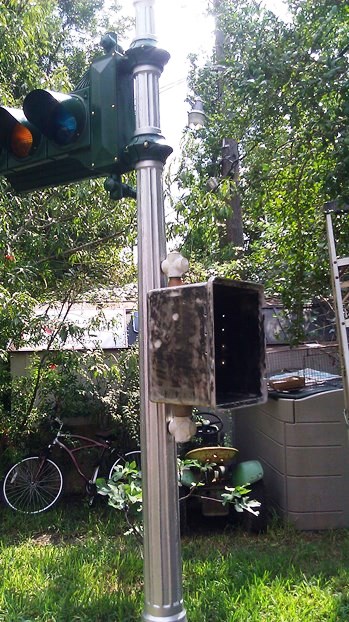
Plan to use the rear board. Have it already primed for paint. Will use it to mount the terminal strip and the electronic sequencer. As to the bracket mounts, they are sitting with all the other brackets and flat metal we have. Usually never toss anything like that for it could come in handy on a later project or repair.
Cheers!