Re: CH Porthole Restore in Progress
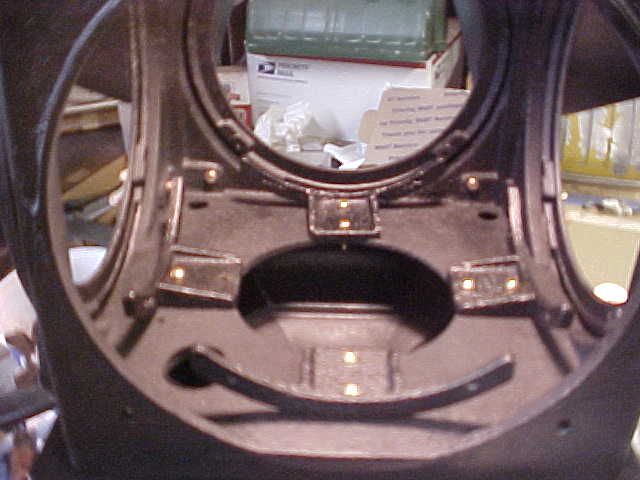
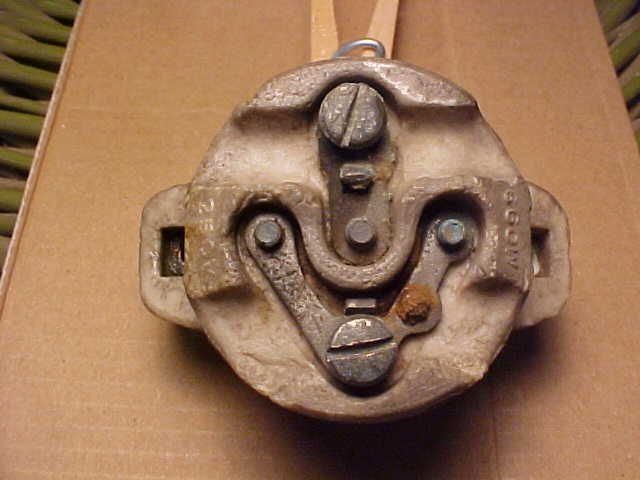
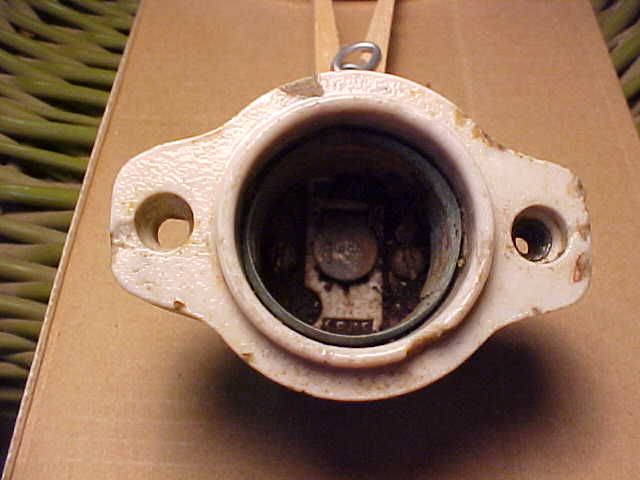
Here is the only good photo of the sockets I have. I do not have dimensions as I would have to tear apart a signal to get those. These are in my Harrington Seaberg 4 way, but the same sockets are used in my CH porthole.


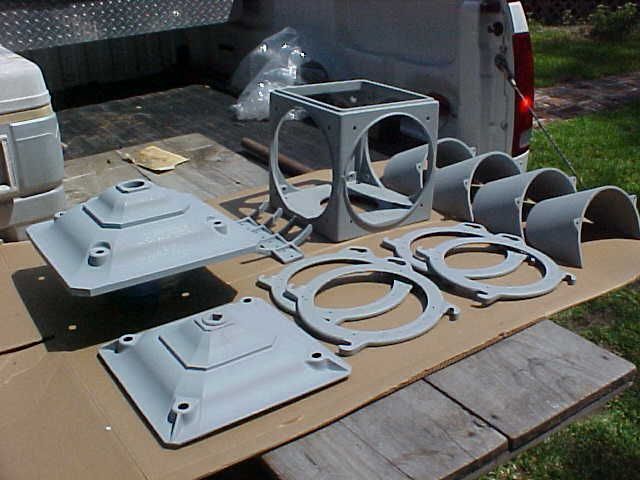
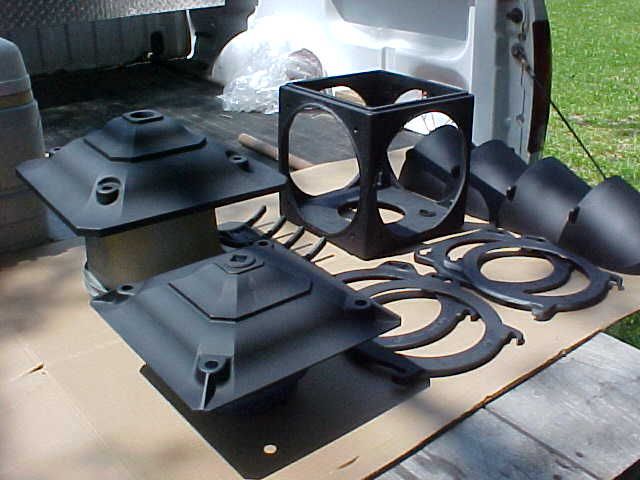


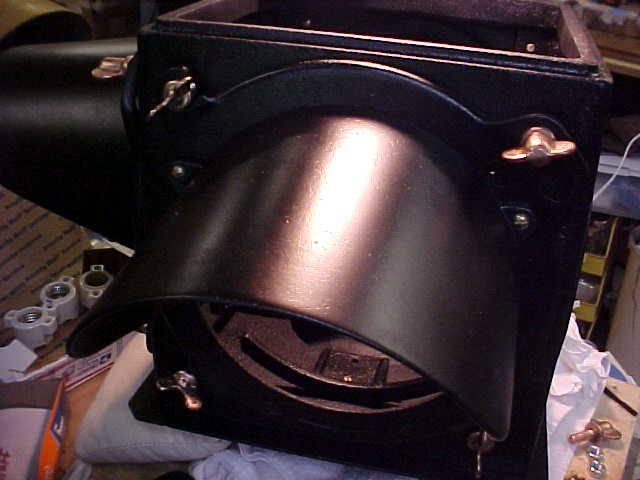
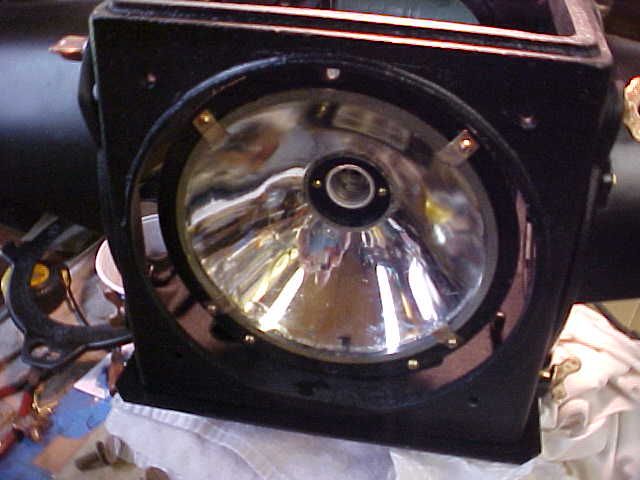
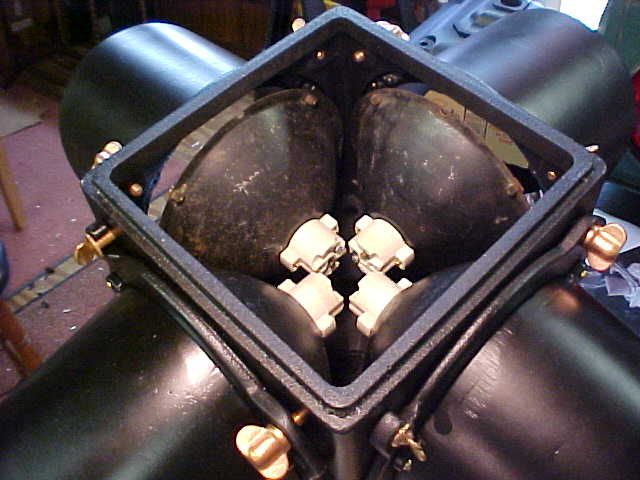
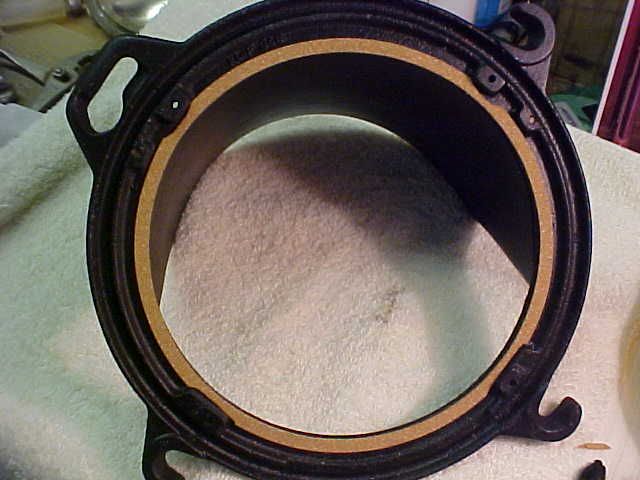
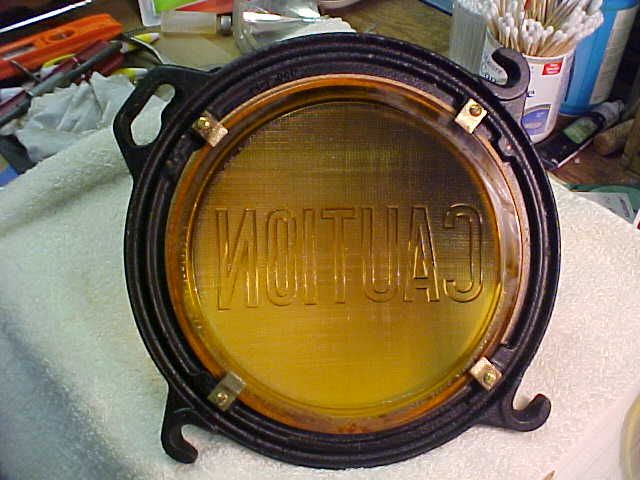
 This has been an extremely difficult project and definitely not the kind of project you want to run in to very often. I found a PH glass reflector in my stock and 2 caution command lens..one is perfect and the other has BB hole...It will do for the time being. UPS has reopened my claim for the 3 broken caution commands I am hopeful it will get paid..
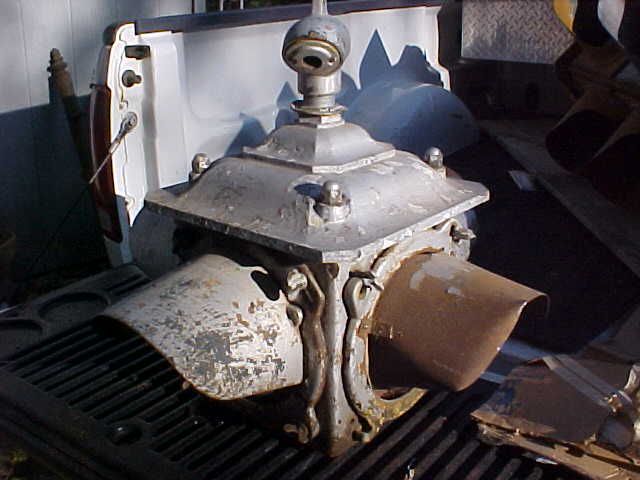
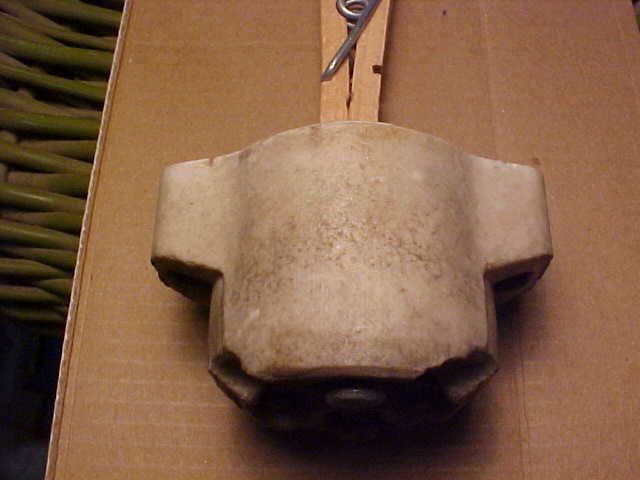
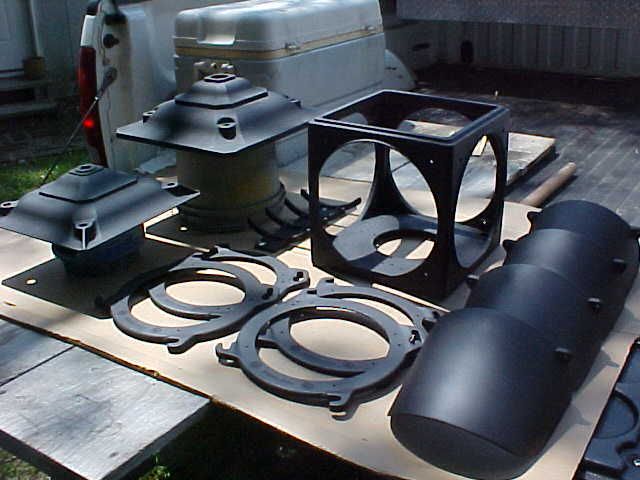
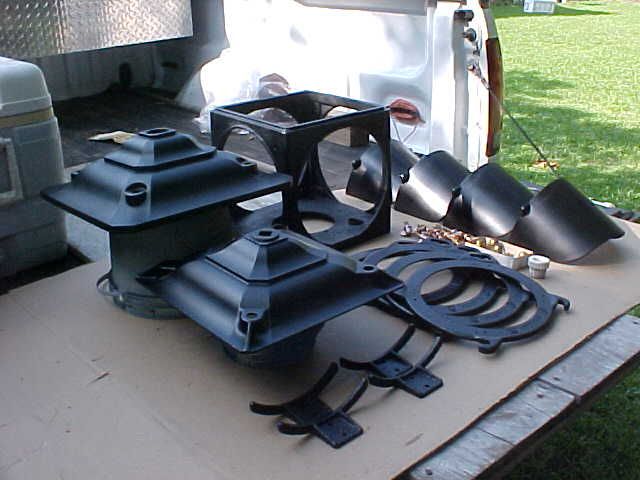
  This beacon is so heavy I had to take pictures just where it sits. It is to heavy to hang from my shop ceiling so I plan to mount it on a wood swivel base(as shown) on top of my gun safe.